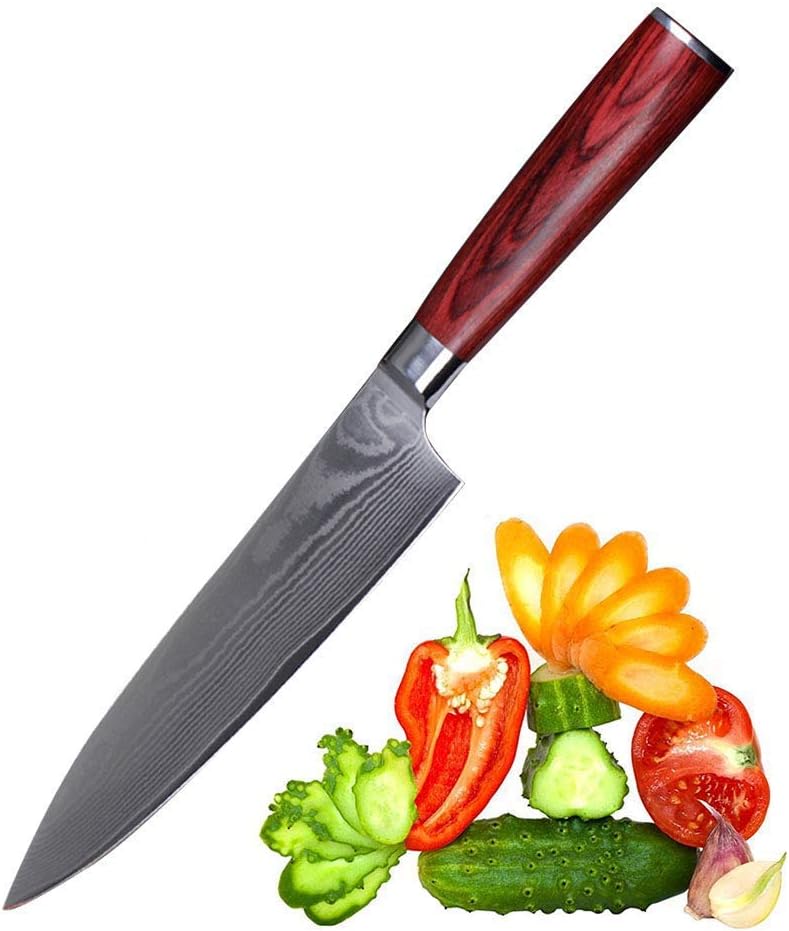
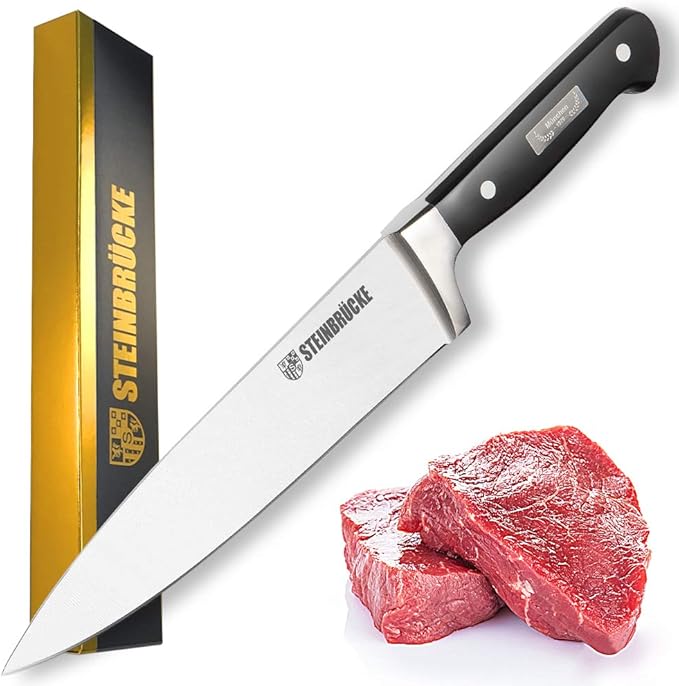
Let’s face it: a dull chef’s knife is a chef’s nightmare. It makes chopping vegetables a frustrating chore, increases the risk of accidents, and ultimately impacts the quality of your cooking. But before you rush off to a professional sharpening service, let’s explore how you can easily sharpen your stainless steel chef’s knife at home. This comprehensive guide will walk you through various methods, equipping you with the knowledge and techniques to keep your knife razor-sharp, saving you time and money in the long run.
Understanding Your Stainless Steel Chef’s Knife

Before we delve into sharpening techniques, it’s crucial to understand what you’re working with. Stainless steel knives are incredibly popular due to their durability and resistance to rust. However, different grades of stainless steel have varying hardness, influencing how easily they can be sharpened and how well they hold their edge. While this guide covers general techniques, always refer to your knife’s manufacturer’s instructions if available.
Choosing Your Sharpening Method: A Multi-Tool Approach

There are several ways to sharpen a stainless steel chef’s knife at home, each with its own pros and cons. Let’s explore the most common:
1. Honing Steel: The Daily Quick Fix
A honing steel isn’t technically a sharpener; it’s a straightening tool. It realigns the microscopic teeth of your blade, restoring its sharpness between uses. Think of it as a quick tune-up, not a major overhaul. To hone your knife, hold the steel at a roughly 20-degree angle to the blade and draw the knife down the entire length of the steel, repeating on both sides several times. The smooth, controlled movement is key – jerky motions can damage your knife.
2. Sharpening Steel: The Essential Sharpener
Sharpening steels, unlike honing steels, actually remove metal from the blade to create a new, sharper edge. These come in various forms, from electric sharpeners to manual pull-through sharpeners and whetstones. Let’s focus on the most effective:
a) Whetstones: The Craftsman’s Choice
Whetstones offer the most control and precision. They come in various grits (coarseness), with coarser grits for initial sharpening and finer grits for polishing. Start with a coarser grit (around 200-400) to remove significant damage, then progress to a finer grit (1000-6000) for a razor-sharp edge. Using a sharpening guide or learning the proper angle (typically around 20 degrees) is crucial for consistent results. This requires patience and practice but yields exceptional results.
b) Electric Sharpeners: Speed and Convenience
Electric sharpeners offer speed and ease of use, making them ideal for busy cooks. However, they can sometimes be less precise than whetstones, potentially removing more metal than necessary if not used carefully. Read reviews and choose a model with adjustable settings for different knife types and materials. Always follow the manufacturer’s instructions.
c) Pull-Through Sharpeners: Budget-Friendly but Limited
Pull-through sharpeners are convenient and affordable, but they lack the precision of whetstones or even electric sharpeners. They are suitable for occasional sharpening and maintaining a reasonable edge, but don’t expect professional-level results.
The Importance of Angle and Torque (Pressure): The Secret to Success

Regardless of the method you choose, maintaining a consistent angle is paramount. A consistent 20-degree angle is generally recommended, though some knives may require a slightly different angle. Experimentation and research regarding your specific knife is key.
Torque, or the pressure you apply, is equally important. Excessive pressure can damage the blade or create an uneven edge. Apply firm, even pressure throughout the sharpening process. Gentle strokes are generally better than aggressive ones. Think of it as guiding the blade across the sharpening surface, not forcing it.
Maintaining Your Sharpened Knife

Once you’ve sharpened your knife, it’s crucial to maintain its edge. Always wash your knife by hand; dishwashers can dull the blade over time. Store your knife properly, preferably in a knife block or sheath, to prevent accidental damage. Regular honing (using the honing steel) will help extend the time between sharpenings.
Conclusion: A Sharper Knife, A Better Cook
Sharpening your stainless steel chef’s knife at home is achievable, regardless of your skill level. By understanding the principles of angle, pressure, and choosing the right method for your needs, you’ll be well on your way to enjoying a sharper, safer, and more efficient cooking experience. Remember, practice makes perfect, so don’t be discouraged if your first attempts aren’t flawless. With time and patience, you’ll master the art of keeping your knives razor-sharp.
Remember to always prioritize safety when handling sharp knives. If you’re unsure about any aspect of the sharpening process, consider seeking professional guidance.