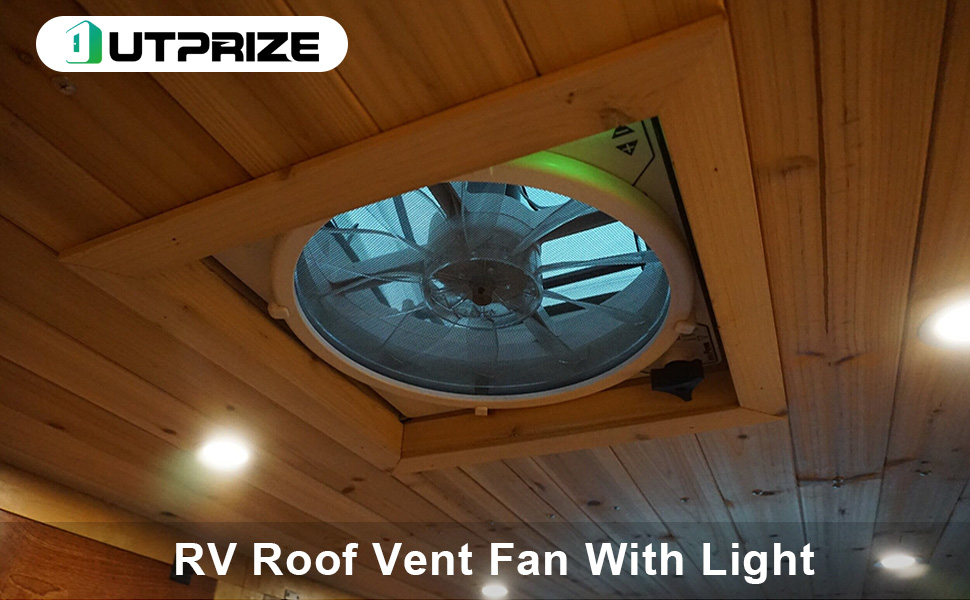
Installing a roof vent fan in your RV can significantly enhance your camping experience. Proper ventilation is essential for maintaining comfort, reducing humidity, and preventing mold growth. This guide will walk you through the process of installing a roof vent fan, providing you with step-by-step instructions, tips, and insights to ensure a successful installation.
Why Install an RV Roof Vent Fan?

Before diving into the installation process, let’s discuss why having a roof vent fan is beneficial:
- Improved Air Circulation: Vent fans facilitate better airflow, which helps in reducing heat buildup inside the RV.
- Humidity Control: They assist in expelling moisture, preventing condensation and mold.
- Enhanced Comfort: A well-ventilated RV can significantly improve comfort levels, especially in warmer climates.
- Energy Efficiency: Reducing the need for air conditioning can lead to lower energy consumption.
Tools and Materials Needed

Before starting your installation, gather the following tools and materials:
- Roof vent fan kit
- Drill and drill bits
- Rivet gun (if needed)
- Sealant or caulk
- Screwdriver
- Measuring tape
- Safety glasses
- Masking tape
- Utility knife
Step-by-Step Installation Process
Step 1: Choose the Right Location
Identify the ideal location for your vent fan. Common areas include:
- Near the kitchen to expel cooking odors
- Above the bathroom to remove humidity
- In the living area for overall ventilation
Ensure that the chosen location is free from obstructions, both inside and outside your RV.
Step 2: Measure and Mark the Area

Once you have selected the location, use a measuring tape to determine the dimensions needed for the vent fan. Mark the area with masking tape to ensure a clear outline.
Step 3: Cut the Opening
Using a utility knife or a jigsaw, carefully cut along the marked lines. Always wear safety glasses during this step to protect your eyes from debris. Make sure not to cut too large of an opening, as you’ll want the vent to fit snugly.
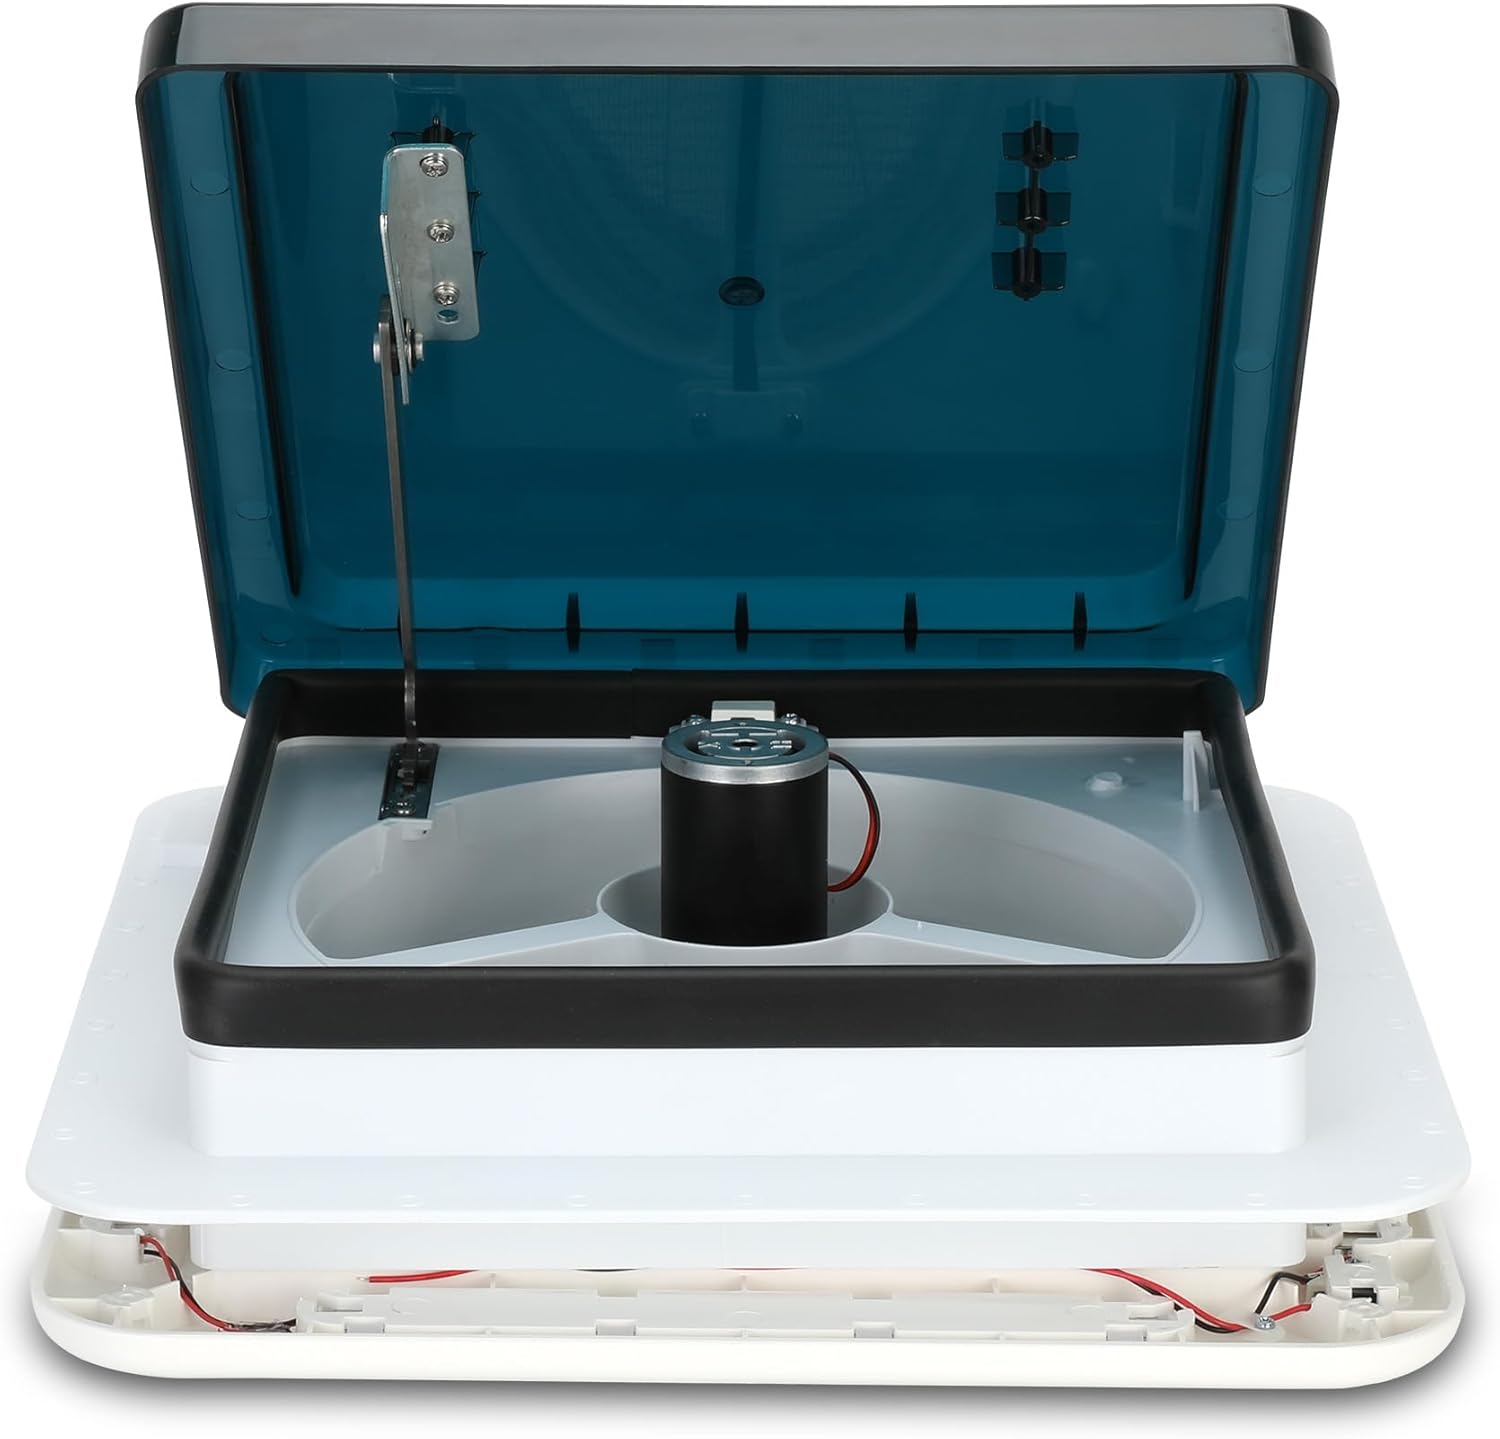
Step 4: Prepare the Vent Fan
Before installing the vent fan, check the manufacturer’s instructions. Some models may require assembly. Make sure to have all components ready, including the fan, mounting hardware, and any additional accessories.
Step 5: Install the Vent Fan
Place the vent fan into the cut opening. Ensure it fits well and is aligned correctly. Secure it in place using screws or rivets, as specified in the instructions. If your fan comes with a flange, make sure to position it properly to ensure a tight seal.
Step 6: Seal the Edges
To prevent leaks, apply a generous amount of sealant or caulk around the edges of the vent fan. This step is crucial in protecting your RV from water damage.
Step 7: Connect the Wiring

Follow the wiring instructions provided by the manufacturer. Typically, you will connect the fan to the RV’s power supply. Ensure that all connections are secure and insulated to avoid electrical issues.
Step 8: Test the Fan
Before closing everything up, test the fan to ensure it operates correctly. Turn it on and check for any unusual noises or issues. If everything is functioning properly, proceed to secure any remaining components.
Step 9: Finalize the Installation
Once the fan is installed and tested, clean up the working area and remove any debris. It’s also a good idea to keep the instructions for future reference or potential troubleshooting.
Maintenance Tips for Your RV Roof Vent Fan
To ensure the longevity of your roof vent fan, consider these maintenance tips:
- Regular Cleaning: Dust and debris can accumulate, affecting performance. Clean the fan blades and the surrounding area regularly.
- Check for Damage: Periodically inspect the vent for cracks, rust, or any signs of wear and tear.
- Lubricate Moving Parts: If applicable, lubricate any moving parts according to the manufacturer’s guidelines.
- Test Functionality: Regularly check the fan’s operation, especially before long trips.
Case Study: The Impact of Roof Vent Fans on RV Comfort
A study conducted by the RV Industry Association found that 75% of RV owners reported improved comfort levels after installing a roof vent fan. Many noted a decrease in humidity and temperature, making their camping experience much more enjoyable, especially during summer months.
For instance, one couple traveling through the Southern states during peak summer found that their previously stuffy RV became a haven of comfort after installing a roof vent fan. They reported being able to keep the interior temperature 10-15 degrees lower than before, allowing for a more pleasant experience while cooking, sleeping, and relaxing.
Installing a roof vent fan in your RV is a straightforward process that can yield significant benefits in terms of comfort, air quality, and energy efficiency. By following the step-by-step guide outlined above, you can successfully enhance your RV experience and ensure a more enjoyable journey.
Remember to choose the right location, properly seal your installation, and maintain your fan for optimal performance. With proper care, your roof vent fan will serve you well for many adventures to come, ensuring a comfortable and enjoyable atmosphere in your RV.